| |
|
Mikollo Mumble Server - instruction |
|
|
|
STEP 1: The application should be downloaded at the beginning. There exist two version. First one install version (mumble-1.2.8.msi), second one (mumble_1_2_8.zip) which can be unzipped on hdd. Choose one of them and go.:) |
|
|||
|
STEP 2: After successful instalation or unzipping start mumble application. |
|
|||
|
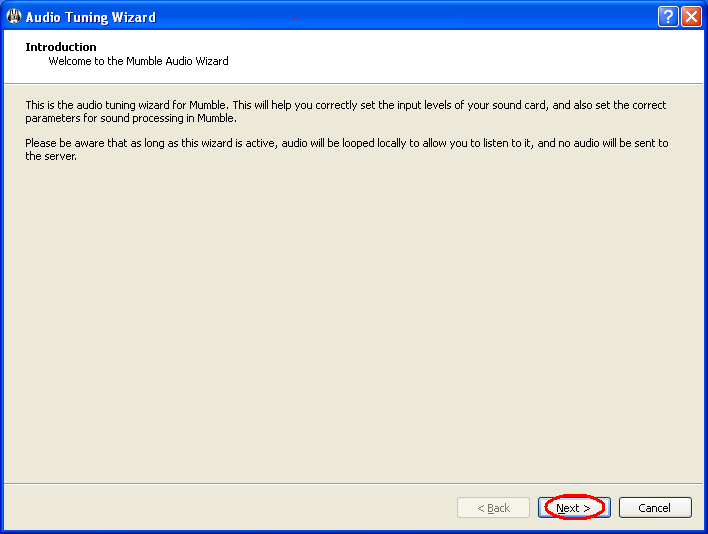
STEP 3: Set default audio in/out device. |

|
|||
|
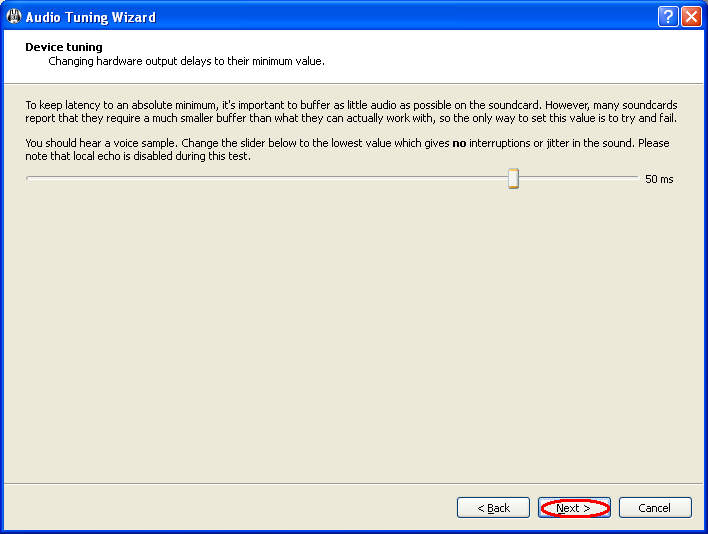
STEP 4: Set audio buffor size. |
|
|||
|
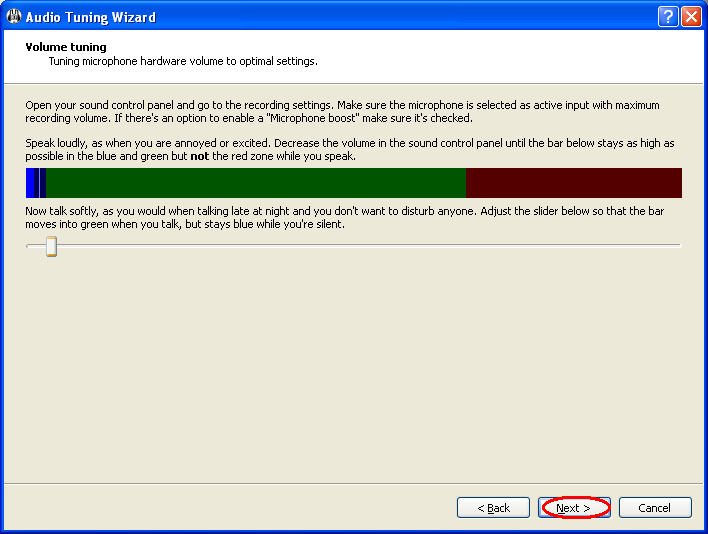
STEP 5: Set microphone sensitivity in such way to care your friends hears :). |
|
|||
|
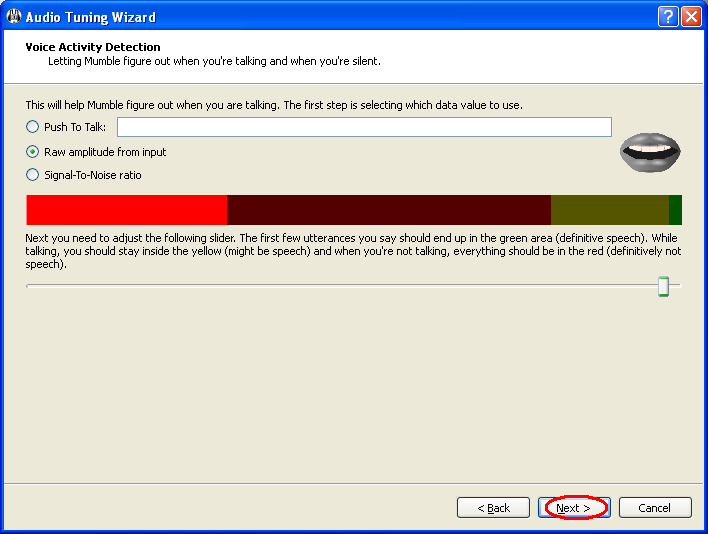
STEP 6: Choose way of microphone activation. Voice activation or button activation. |
|
|||
|
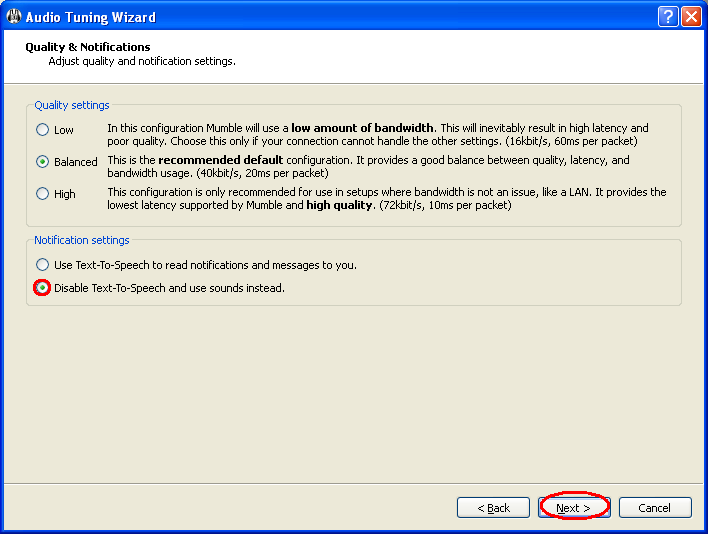
STEP 7: Choose voice quality. Additionally I suggest turn off text to voice option (it is horrible and can kill everyone :) ). |
|
|||
|
STEP 8: Choose between dolby surround and headphones. Choice is Yours. That says Captain Planet :). |

|
|||
|
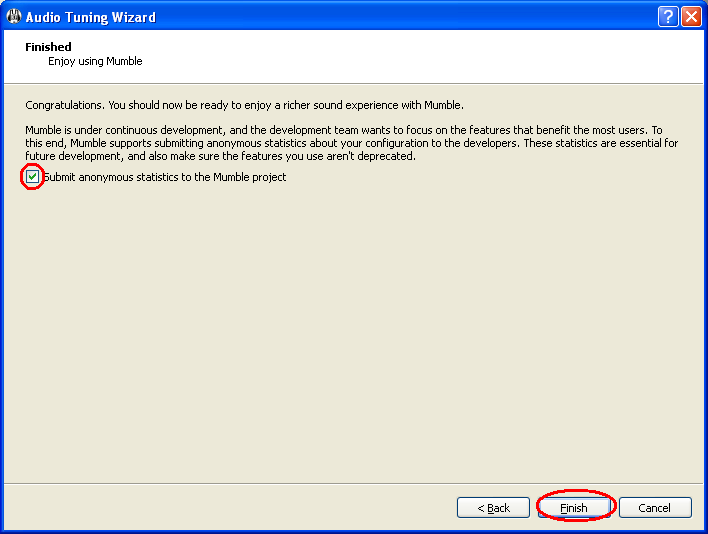
STEP 9: Think and choose wisdomly if you want send some data to unknown company :). |
|
|||
|
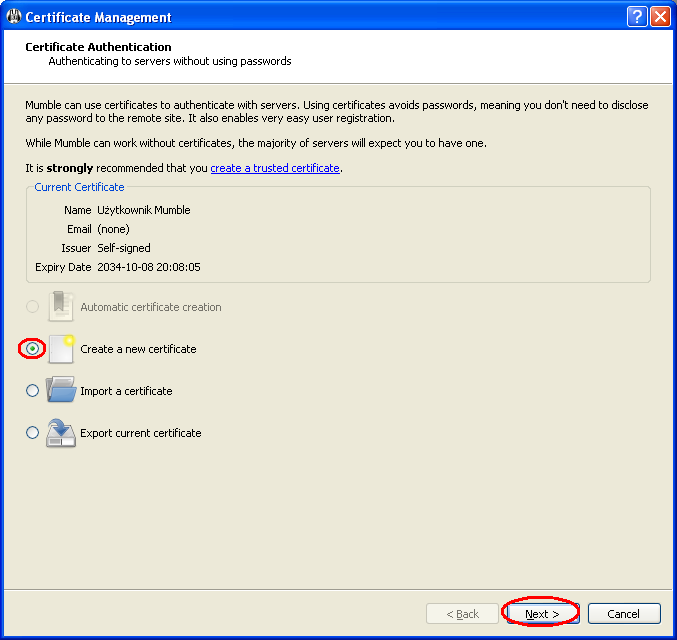
STEP 10: It is time to create certyficate. It is necessary for user authentication and authorization on Mumble server. If you have such certificate, you can import it. |
|
|||
|
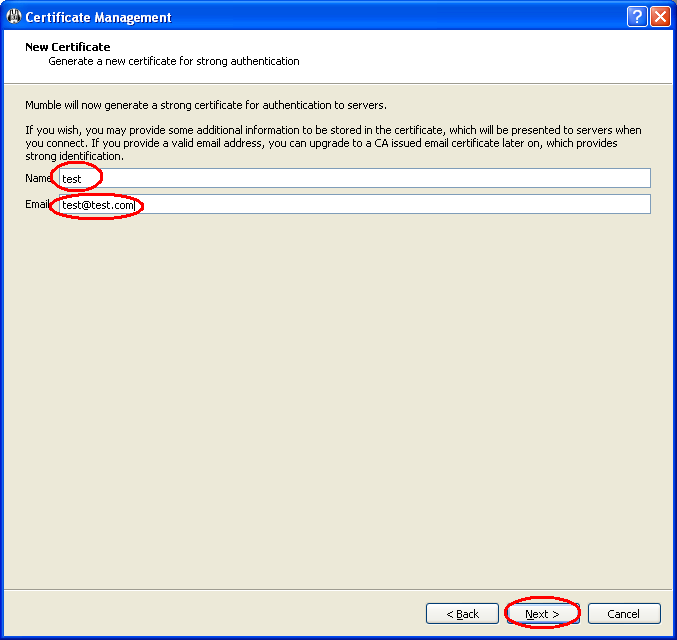
STEP 11: Please type certyficate name and email address. |
|
|||
|
STEP 12: Please save your certyficate is safe place. It can be usable in future :). |

|
|||
|
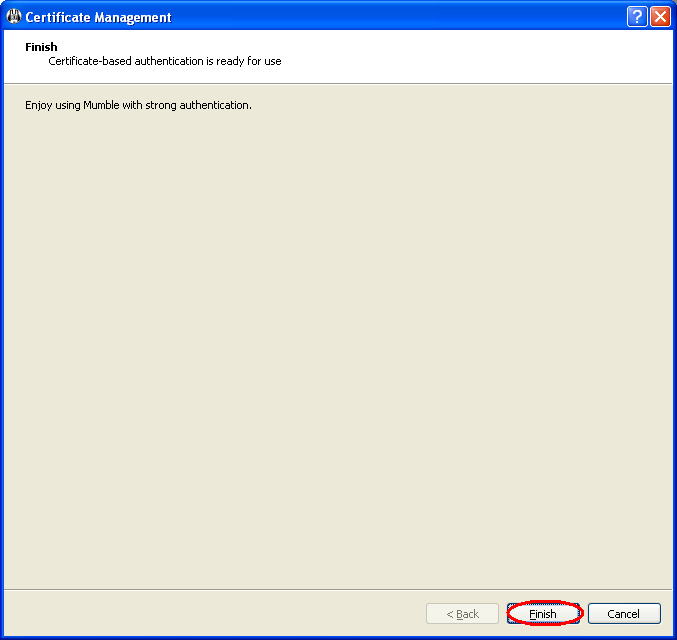
STEP 13: Certificate part of actions is successfully ended :). |
|
|||
|
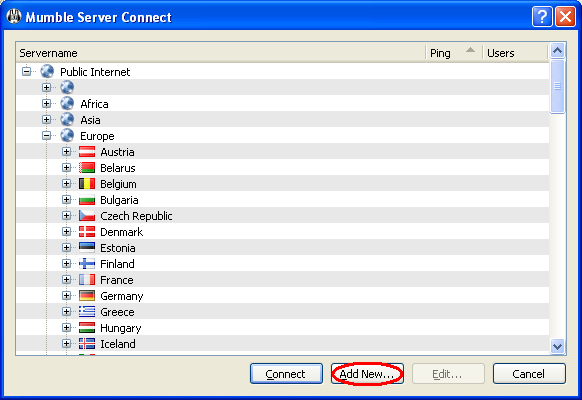
STEP 14: Lets add Mikollo Mumble Server. |
|
|||
|
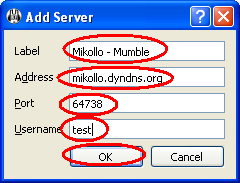
STEP 15: Fill fields according to picture. |
|
|||
|
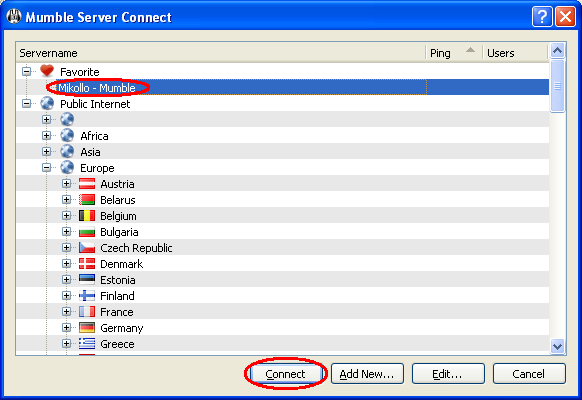
STEP 16: Server is prepared to connection. Let's try to connect with it. |
|
|||
|
STEP 17: Confirm Mumble server certyficate. |

|
|||
|
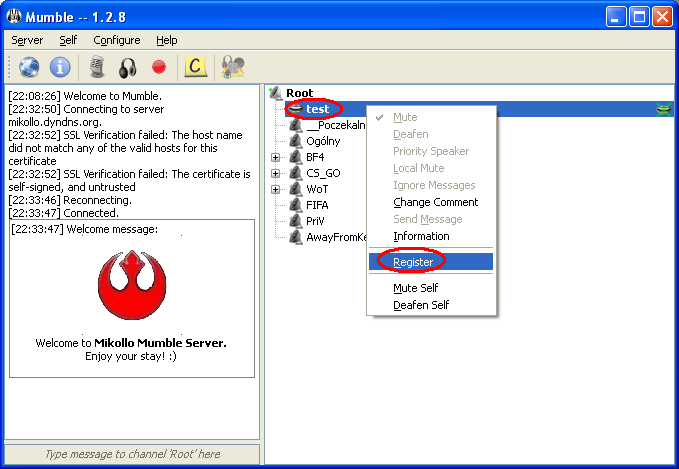
STEP 18: Choose registration for the beginning. It is sent to server. It will be necessary for authentication and authorization in future. |
|
|||
|
STEP 19: Accept registration. So you should wait for my register acceptation. If you have any questions or problems, go to room _Poczekalnia or send email (mikollo@gmail.com). If I will be avaliable i will help you. Thats all. Greetings Mikollo. |

|